Introduction
OpenCV or Open Source Computer Vision is a crazy powerful library created for computer vision and working with images and videos. It has bindings in C++, Python, Java and MATLAB and supports all operating systems. Today we are going to see how to use the Python implementation of OpenCV to process images, i.e., adjust their brightness, blurring, applying kernels, etc.
Getting Started
Background
This project was heavily by Kylie Ying's pyphotoshop project. I implemented the same functions as she did. However, while she did it in pure Python, I decided to do it using OpenCV. The images used in the project are also from her repository.
Also I used Google Colab to run my project. But it can easily be converted into a command-line script with a few modifications.
Functions implemented
I implemented the following functions in my program:
Adjusting the brightness of an image by a given factor
Adjusting the contrast of an image by a given factor
Blurring an image with a kernel of given size
Applying a given kernel to an image
Blending or combining two different images
Algorithms used
The first step is to read in the image and convert it to RGB format. This is necessary because when OpenCV reads in an image, it is in BGR format.
Now, we look at the algorithms. (Spoiler alert: they are very simple :))
- To adjust the brightness, we simply multiply the given image by the given factor. The factor has to be positive ( 1 brightens it ). Since OpenCV uses numpy, every OpenCV image is a numpy array. So we can easily multiply it by a scalar number to scale the pixels up or down.
def adjust_brightness(image, factor):
  brightened_image = image * factor
  return brightened_image
- To adjust contrast, we subtract a mid-value from the image pixels, multiply by a factor, and add back the mid-value. It essentially increases the difference of the pixel values from the mid-value.
def adjust_contrast(image, factor, mid=0.5):
  contrast_changed_image = (image - mid) * factor + mid
  return contrast_changed_image
- To blur, I use the convenient
cv2.blur()method, passing in the image and the kernel size. This method uses the mean blur method to calculate the blur.
def blur(image, kernel_size):
  blurred = cv2.blur(image, (kernel_size, kernel_size))
  return blurred
- Next we apply a custom kernel to an image using the
cv2.filter2D()method.
def apply_kernel(image, kernel):
  kerneled_image = cv2.filter2D(image, -1, kernel)
  return kerneled_image
Here the second argument to the filter2D method is the depth of the returned image. -1 means it has the same depth as the source image.
- Combining or blending images is also extremely easy with OpenCV. I use the
cv2.addWeighted()method. It uses this formula to accomplish blendingdst=α⋅src1+β⋅src2+γ
def combine_images(image1, image2):
  blended = cv2.addWeighted(image1, 0.8, image2, 0.8, 0)
  return blended
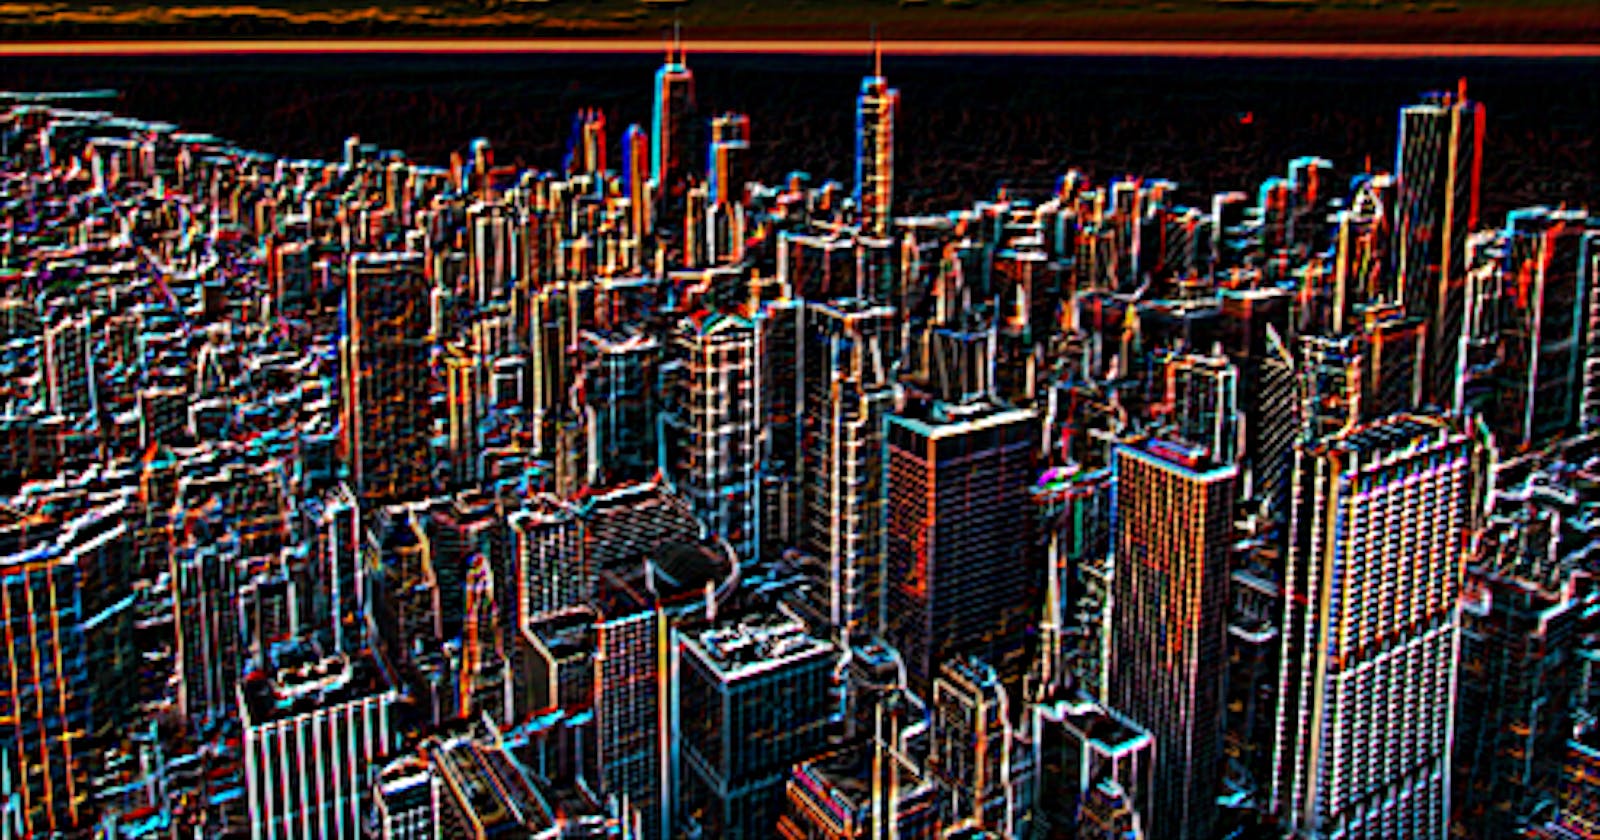
As an example, following Ying's project, I applied a special kernel known as the sobel kernel to the image in the x and y directions, then combined them to get a somewhat crude edge detection filter
Conclusion
In conclusion I want to say that OpenCV is extremely powerful and we can accomplish a ton of stuff using very simple methods. I would ask everyone to look more into this library in the docs. The possibilities are endless.
You can find the code here. Just click Copy to Drive to make a copy and save your changes.
Hope you enjoyed reading this article and learning about OpenCV. Thank you.
