Introduction
OpenCV is an open-source Computer Vision library. It is cross-platform and can be used in many different programming languages. It has many functions built into it which allow us to handle image manipulation very easily. We shall use OpenCV and pytesseract to write a script which when given an image, recognizes the text in that image.
Pytesseract is the Python wrapper for Google's Tesseract-OCR. We will use it to recognize and read the letters in the image.
This project is inspired from a video on the YouTube channel Murtaza's Workshop.
Let's get started
At first, we install our libraries with the following commands in terminal/command prompt
pip install pillow
pip install pytesseract
pip install opencv-python
We also need to install the tesseract binary itself. Linux users can do apt install tesseract-ocr, and Windows users can download an executable from github.com/UB-Mannheim/tesseract/wiki, then run the installer to install it on their machine.
Write some code
Import our libraries
import sys
import platform
import cv2
import pytesseract
if platform.system() == "Windows":
    pytesseract.pytesseract.tesseract_cmd = "Path\\to\\where\\tesseract\\was\\installed"
This line is needed for Windows users to tell Python to use the tesseract engine installed on the computer.
Get the image ready
Read in the image as a command line argument and convert it to RGB since OpenCV, for some reason, stores colors in BGR format.
img = cv2.imread(sys.argv[1])
img = cv2.cvtColor(img, cv2.COLOR_BGR2RGB)
Find the height and width of the image with shape property
hImg, wImg, _ = img.shape # we ignore the third variable since it is not used
Do the text recognition
boxes = pytesseract.image_to_boxes(img)
detected_text = pytesseract.image_to_string(img)
These two lines do the actual text detection. The image_to_boxes() method returns coordinates of the bounding boxes of the letters tesseract has detected.
The image_to_string() method returns a string representation of the text in the image.
We can print the detected_text to the terminal if we want to.
Draw boxes around the text
for box in boxes.splitlines():
    box = box.split(' ')
    x, y, w, h = int(box[1]), int(box[2]), int(box[3]), int(box[4])
    # Show the detected text on the image alongwith bounding boxes
    cv2.rectangle(img, (x, hImg-y), (w, hImg-h), (0,0,255), 1)
    cv2.putText(img, box[0], (x, hImg-y+15), cv2.FONT_HERSHEY_SIMPLEX, 0.5, (50,50,255), 1, cv2.LINE_AA)
boxes.splitlines() gives us a list of boxes, each of which is a space-separated string of the x-coordinate, y-coordinate, width and height of the box. We can pull them out and put them into proper variables.
Drawing over the image in OpenCV can be a bit hacky with a few different parameters but we can handle that :)
cv2.imshow('Result', img)
cv2.waitKey(0)
cv2.destroyAllWindows()
Finally we show the image, and wait for the user to press any key, before exiting.
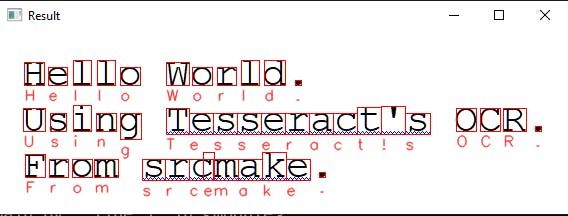
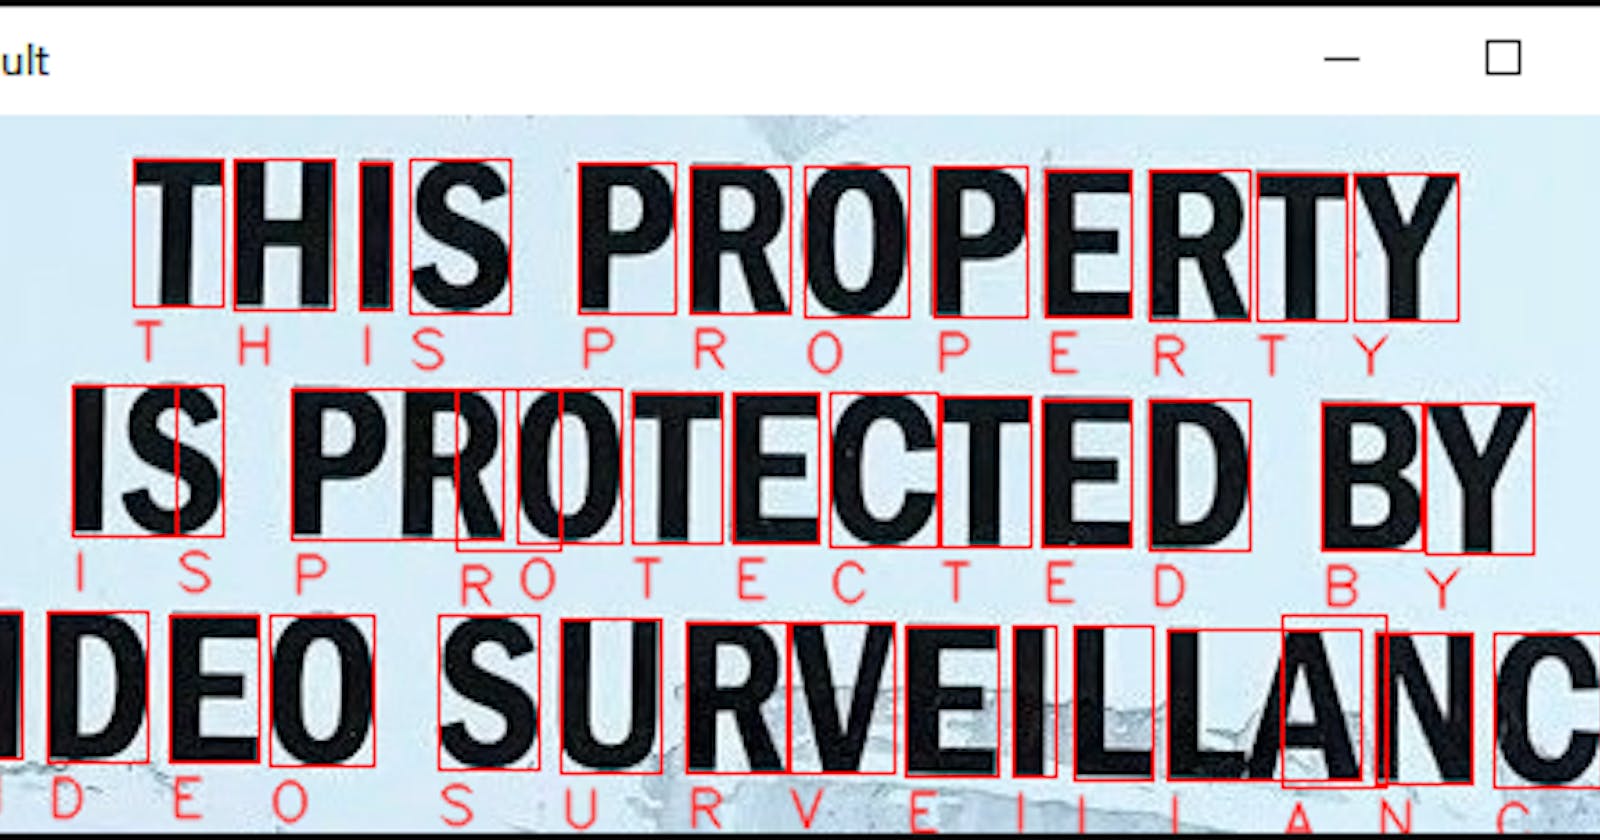
Now, if we run the script with python main.py [path_to_image_file], we will get an image popping up with the recognized text on it.
Example:

Conclusion
Today we learnt
- how to work with OpenCV
- reading images
- drawing on it, including rectangles and text
- showing the final resultant image
- how to detect text with pytesseract
You can find the full source-code on GitHub here. There are a few test images in the assets folder to test out the script.
That is it for today! Happy coding
